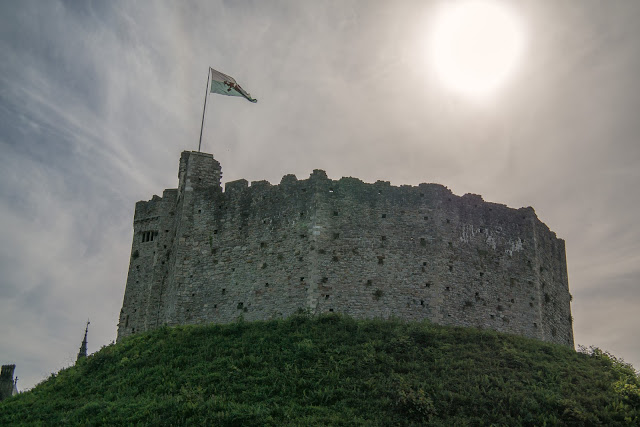
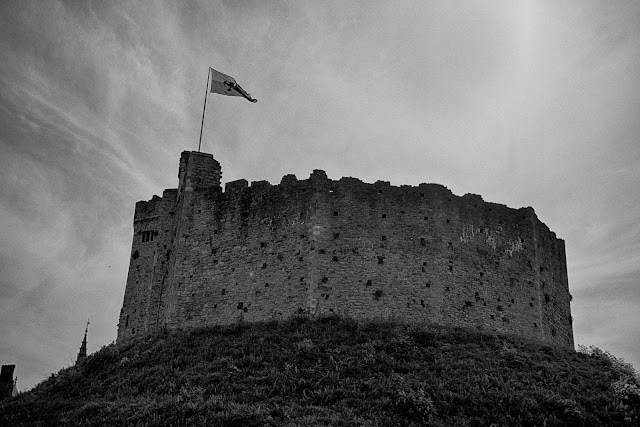
Well, not really, but this is photograph a friend of mine made while he was skiving rather than being at the conference he was supposed to be at. He'd posted it on a private board after doing some tinkering and I thought to myself: "Hang on, I think we can get a bit more out of the image than that." He kindly posted the RAW file for me to play with. The image was made by a Samsung NX30, 1/2500 @ f/6.3, ISO 200.
When I first looked at the RAW file in Lightroom, I was surprised at just how much detail was still available in the shadows given bright sky and the dark castle walls.
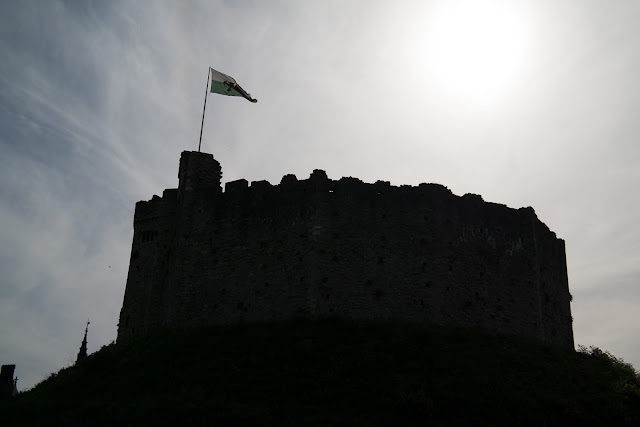 |
| Original Image |
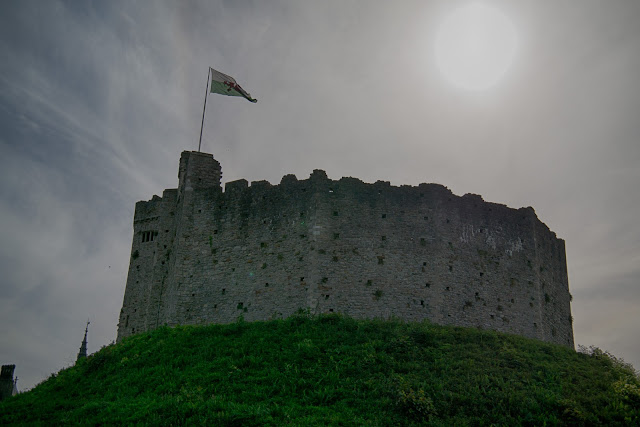
In LR, I did the following adjustments:
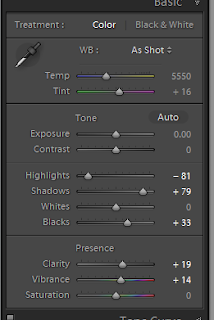 |
| Lightroom Adjustments |
The original exposure was OK but I really hit the Highlights and Shadows settings (I also cloned the bird on the left out. Bloody seagull) I found the RAW file to be remarkably robust to this sort of heavy handed tweaking. The only disconcerting thing was the two pure green spots on the castle wall. I think that this is a hot or dead pixel. I did end up cloning them out after I had run the file through Viveza. After this LR jiggery-pokery I ended up with this:
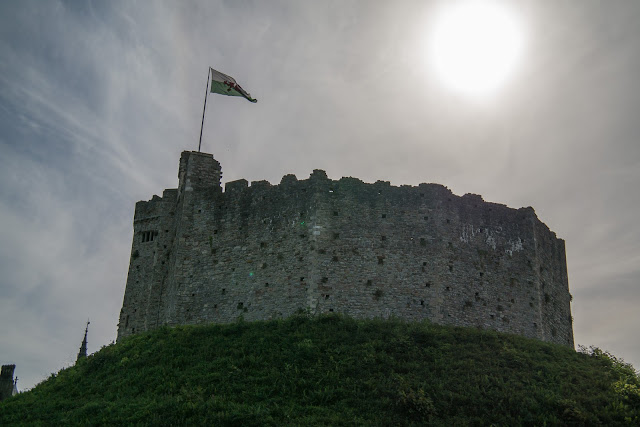 |
| Lightroom Adjustments |
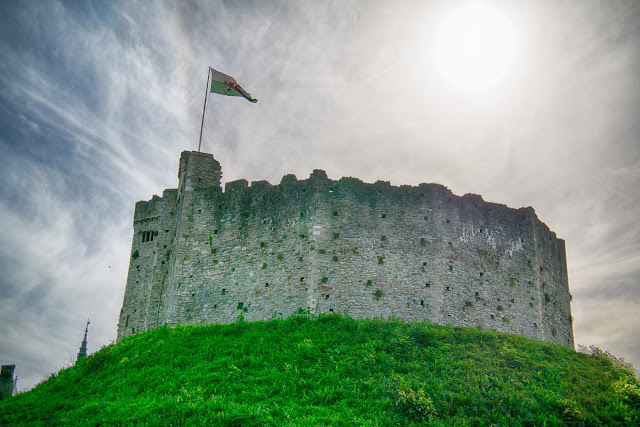
I wanted to lighten up the Welsh flag a bit as I found it a bit dark. I opened the image in NIK Viveza 2.0 (Hey Google, if you're going to abandon the NIK suite, at least have the decency to open source it!) After tweeking the overall brightness, warmth, structure and shadows, using a Control Point set on the flag green of the flag I tweeked the brightness and saturation giving me this:
 |
| After Viveza 2.0 |
Not bad, not bad at all. Now, NIK has a tone mapping HDR application so, since I was going all McGyver on this image anyway, why not try that. There's lots of pre-built settings, ranging from neutral to "OMFG the acid has just kicked in!" Here's the three that I tried:
 |
| NIK HDR Pro Tone Map "Neutral" Setting |
 |
| NIK HDR Pro Tone Map "Balanced" Setting |
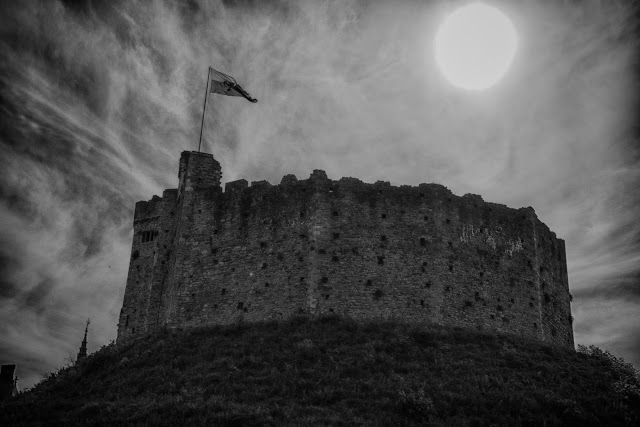 |
| NIK HDR Pro Tone Map "Artistic B/W" Setting |
I think I prefer my handbombed colour processing using LR and Viveza over any of the HDR colour presets.
I do like the B/W except for the burnt out sun, so back to the original image and this time I loaded it up in Viveza and set a control point on the burnt out sun and reduced the brightness until I got it to blend in to the cloud bank. Next I ran it through NIK HDR tone mapping, selecting the "Natural" preset. Finally into the ab fab NIK SilverFX. I selected the Ilford HP5 profile and worked with the fine structure, brightness, dynamic brightness and soft contrast sliders until I got this:
 |
| NIK SilverFX |
This I think is the image I felt was hiding inside the image (except for the bright pixels and the bloody seagull)
For my friend, who is a Linux guy, I think you can do the LR adjustments and Viveza style spot adjustments in Darktable. I've got it running on Junior but I just haven't had the time to understand the UI yet. I don't know what application you'd use to do the tone mapping HDR, but LightZone does run on Linux and it does some pretty neat tone mapping.
Oh, and if Mike from Australia is reading this, well, you know what to do...
 Well, not really, but this is photograph a friend of mine made while he was skiving rather than being at the conference he was supposed to be at. He'd posted it on a private board after doing some tinkering and I thought to myself: "Hang on, I think we can get a bit more out of the image than that." He kindly posted the RAW file for me to play with. The image was made by a Samsung NX30, 1/2500 @ f/6.3, ISO 200.


